
OpenWebRX+ Receiver Panel
The Receiver Panel hosts all of the operating controls. Analog mode selections and digital extensions are on the panel. The waterfall, audio and band selections are all on the panel as well.
The Receiver Control Panel
The controls are grouped in drop-down panels.
- ▿ Frequency Display and Entry, Profile Selection, Bookmarks
- ▿ Modes - audio decoding mode buttons
- ▿ Controls - volume, tuning step, squelch, noise reduction
- ▿ Settings - UI theme, panel opacity, waterfall theme, panel borders, mouse wheel tuning, show band plan ribbon
- ▿ Display - zoom in, out, maximum, spectrum display toggle, start/stop audio recording
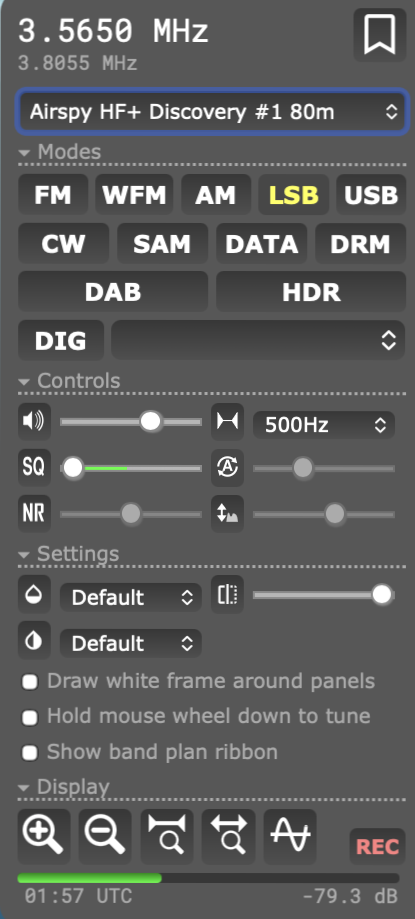
Clicking on the little triangle next to each group label will hide or unhide the group. The image shows all of the panels expanded.
The bottom row is a signal level bar graph and display in dB and the current time.
Frequency Display and Direct Entry
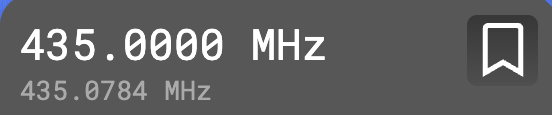
The currently tuned frequency is shown in the text field. It can be clicked on and edited directly using the keyboard but only within the band limits of the current Profile.
Profile Selection

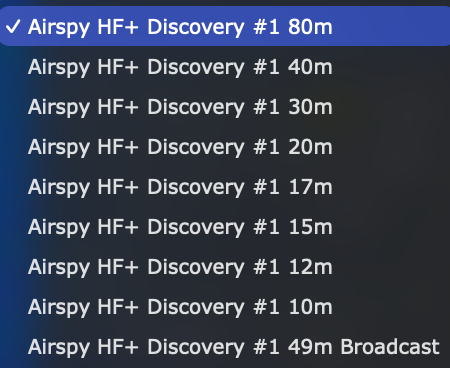
The Profile Selection control is a drop-down list of all of the active profiles.
Add New Bookmark
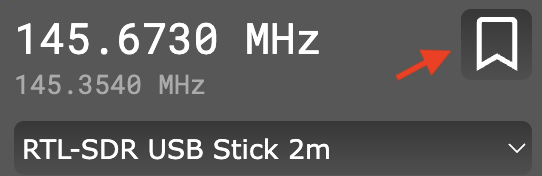
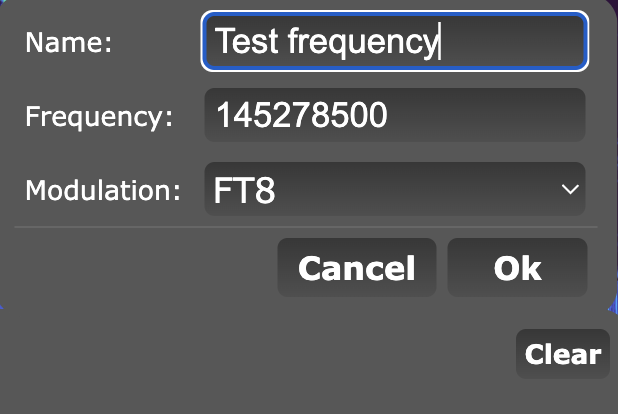
To create a new bookmark, click on the New Bookmark icon indicated by the red arrow and a bookmark pop-up will allow entering the name, frequency and modulation type.
Modes - Audio Decoder and Digital Mode Selection
Contains both the audio and digital selection controls and menus.
Audio Mode Selection Buttons
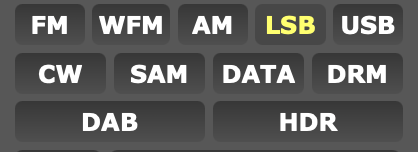
To select the audio decoder, simply click on the mode button.
Digital Decoder Mode Selection Menu

The digital mode selection menu is a dropdown list. The range of selections is extensive, more than forty. There is a complete list at the link below.
Digital Mode Selections
ⓘ OpenWebRX+ Digital Modes
Controls - Speaker volume and Tuning Step
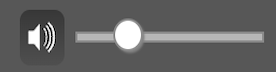
The speaker icon is a button that mutes/unmutes the audio.
The slider adjusts the audio level.
Tuning Step
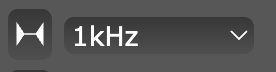
Clicking the button resets the tuning step to 1Hz. The drop-down menu provides a set of tuning steps to select from.
The drop-down menu has step from 1Hz to 50kHz. This sets the frequency step used when scrolling the mouse wheel or when using the tuning buttons.
Controls - Squelch and Waterfall High Color
Squelch Settings
Button auto-sets the squelch level.
The slider manually adjusts squelch level.
Waterfall Color High
Control-Right Click on the button to toggle auto color levels on/off.
The slider adjusts waterfall maximum signal level affecting colors.
Controls - Noise Reduction and Waterfall Low Color
Noise Reduction

Clicking the button turns noise reduction on and off. The slider manually adjusts the level.
Waterfall Color Low

Control-Right Click on the button to toggle auto color levels on/off.
The slider adjusts waterfall minimum signal level affecting colors.
Settings - Themes, Opacity, Borders, Mouse and Band Plan
Select UI Theme drop-down selection menu.
Select Waterfall Theme drop-down selection menu.
Slider to set the Receiver Panel opacity.
Checkboxes
- Draw border around panels
- Hold mouse wheel down to tune
- Show Band Plan Ribbon above the Frequency Scale Header
Display Controls
 <
<
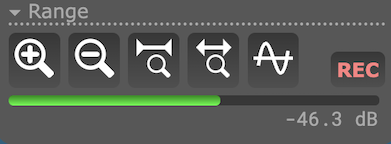
The ⊕ and ⊖ buttons zoom the waterfall in/out one tuning step.
⤚⤙ zooms in to the minimum bandwidth and ↔ zooms out maximum, i.e. full bandwidth.
The Sinusoid button toggles the live spectrum display which will appear above the Frequency Scale Header.
The REC button starts audio recording. Signal level information and the current time is displayed along the bottom.